
Use these access routes, not compass bearings
The arrows below mean “use this view or object to reach that scene.” They do not show distances, cardinal directions or architectural proportions. Only connections described by the walkthrough evidence are included.
- EntranceLeft-hand doorServant’s room guide
- Back hall / KateBack door after receptionGarden guide
- Alexandra’s crateDoor on the left after teaLiving room guide
- Corridor near AldousCeiling hatch + Walking StickAttic guide
- Bottle/barrel puzzlePortrait-symbol bottle arrangementCellar guide
- Hunting paintingHat → rifle → bear eyes → crowLab guide
Rooms, unlocks and the guide to use
On a narrow screen, scroll the table sideways to read all columns.
| Room / scene | Access or recognizable landmark | When and what to do |
|---|---|---|
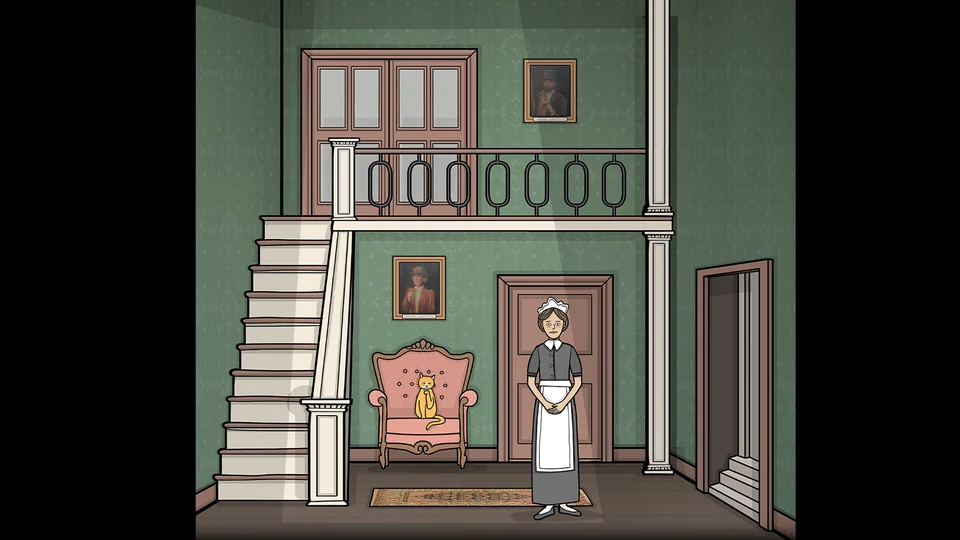
| Entrance / reception | House key from the board by the outside planter; staircase, portraits and pink chair inside. | Day 1 arrival and reception; later chair/bust repairs and stair revolver. |
| Servant’s room | Left door from the entrance; stove and table. | Porridge, tea and coffee preparation, then Day 3 cat/repair interactions. |
| Back hall / garden doorway | Kate’s working area and back door. | Garden opens after reception preparation. |
| Garden | Flower pot, goat, cockroach board, mailbox and flagpole. | Flowers and bouquet plus stone-tablet box. |
| Aldous’s bedroom | Upper corridor door and bedroom curtains/alarm. | Day 1 morning routine; ceiling hatch nearby is a separate entrance. |
| Living room | Door left of Alexandra’s crate after accepted tea; fireplace and cabinet. | Day 1 reunion, ending before the hallway night watch. |
| First-night attic | Ceiling hatch opened with Walking Stick after patrol. | Scroll and ladder sequence; later letter replay changes the constellation inputs. |
| William’s room | Kate opens it after coffee is served to Aldous. | Day 2 wake-up, watch/clock/chalice/feather/egg chain. |
| Balcony and hunting view | Upper corridor route via the opening near Aldous’s room; ladder toward outdoor view. | Day 2 hunting; later laundry line, disposal and rail repair. |
| Hunting shed | Door in the hunting area; five-digit lock. | Meat puzzle’s 91276 and Silver Timepiece. |
| Bathroom | Key from the washed shirt pocket; door to the right upstairs. | Soap, wall tiles, bathing and 281 briefcase. |
| Cellar | Colored bottles matched to portrait/timepiece symbols open a barrel route. | Day 2 three-tool visits; revisited for dinner and hidden letters. |
| Lab | Hidden entrance beneath the hunting painting. | Day 3 symbol board and elixir preparation. |
| Kitchen | Kate opens the door after Day 3 maintenance is finished. | Dinner preparation and soup scene. |
| Dining scene | Begins after clothing, weapons and James’s sacred preparations. | Day 3 dinner, with three courses and chandelier. |
| Underground departure area | Reached after the dinner chandelier falls. | Wounds, gate, bridge and final clocks. |
Why a door or object changes between visits
Check the current notebook assignment before treating a closed door as a missing key. William’s room follows coffee; the bathroom follows washing; the lab follows the cat task and Aldous’s note. The Day 1 attic is reached with the Walking Stick, while its post-game letter puzzle assumes you have already finished the story.
The same room can return with a different lock or object. Use the box reference to identify its scene and expected reward. If an object you already collected has disappeared, read the save-problem branch; that is a different issue from an entrance that has not unlocked yet.